
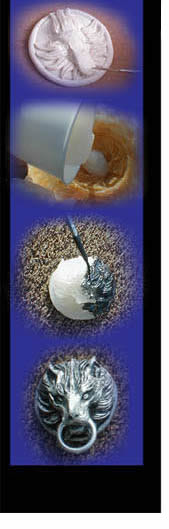
Home / Sculpting / Making a Mold / Casting / Painting / Gem Making Tutorial / Links / Contact Me
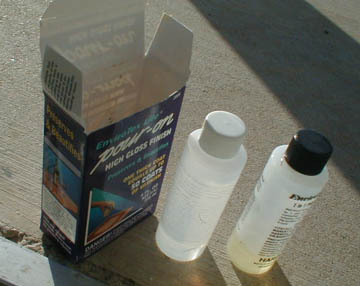
There are many types of resin out on the market, but I find the easiest brand to use is Pour-On Shellac (which you can buy at Michael's.) Reasons I like it: It all comes in one box, it's relatively clear, and to make it all you have to do is combine a 1 to 1 mixture of both catalyst and resin. No messy formulas to memorize.
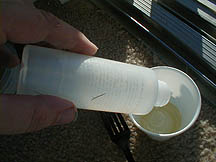
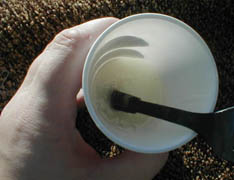
For a small item like the Wolf Pendant, I measured out the resin and catalyst in equal amounts by pouring then into 3 oz plastic cups. When the time came to mix the two chemicals together, I poured both cups into a larger-sized 5 oz. plastic cup and stirred them with a wide, flat stirring stick. (The handle of a plastic utensil or a popsicle stick works nicely for this purpose.) The directions inside the box said to stir the mixture for about two minutes until it was the consistency of cake batter. (Mmmm.... Cake...)
Oh, I probably should mention that liquid resin is very dangerous to inhale - make sure you mix these chemicals outside and, if possible, with OSHA-approved mask and gloves on. Try not to spill this stuff on aything, because once it dries, it's NOT coming off...not unless you use acetone, which is another nasty chemical you want to limit your exposure to.)
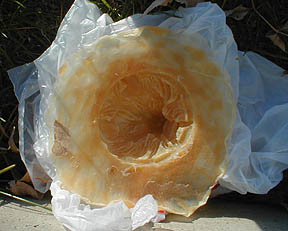
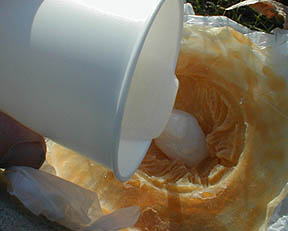
Anyway, the next step after mixing is to pour the mold. You can spray a mold release into the latex shell if you want to (but I've never found it necessary to do so.) Set up your mold so that it's completely level and so that it will remain so during the pouring process. (In this case, I supported my mold by wadding up a plastic bag and stuffing it underneath, putting extra padding underneath the shallower areas. When pouring, let the resin flow into the mold nice and evenly. (Hopefully, you correctly calculated the amount you thought you would need so that the mold fills up to the top. Try to get it to overflow a little if you can, for as the resin sinks into the surface crevaces of the latex, the level of resin at the top of the mold will go down a bit.)
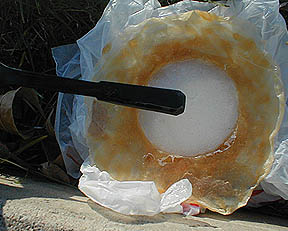
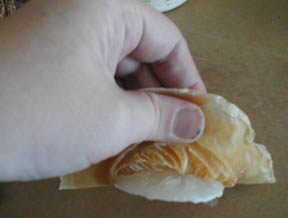
After the resin has settled for a few moments, blow gently on its surface - this won't help in the hardening process but it will help break up the bubbles which will be furiously forming. Do not blow hard enough to cause ripples, and try not to inhale any of the fumes coming off of the resin during the blowing process. (Also be careful not to let any of your hair fall into the resin - that does not make for easy cleanup.) Let the resin dry for at least a day and then carefully peel the latex off of the molded object (if you're lucky, your mold will survive this second round of abuse and you will be able use it to make future castings.)
Now it's time to move onto--
Finishing and Painting...
