

Project 2 - Lina Inverse-Style Shoulder Pauldrons
Admit it. Most shoulder armor you see at conventions looks cheesy, cardboard-y, heavy, and is about as ungainly as anything you'll ever see. But it needn't be, as you'll soon see.
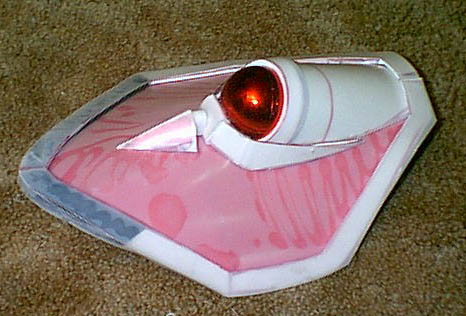
First thing I did, after scrutinizing hundreds of reference pictures and examining them down to the last detail, was to create a pattern based on those reference pictures. This I did by cutting out tagboard and shaping it around my shoulders to try and get a feel for how the armor looked, what size it was in proportion to the character, and how I was going to attach it to my body. After this was accomplished, I took the pattern I had created and used it as a guide for cutting out the armor pieces in 6mm craft foam. I then glued polystyrene sheeting over the foam. This is what I wound up with after crafting all the separate components for the armor and hotgluing them together:
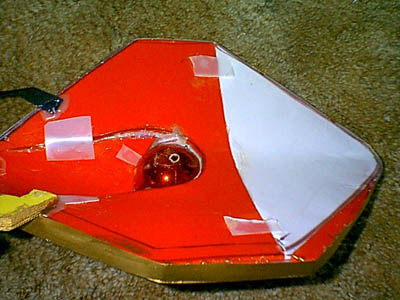
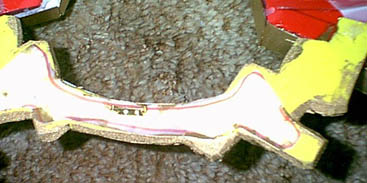
That red ball in the middle, by the way, is a plastic Christmas ornament which I hotglued a piece of foam around to act as a jewel setting. To get a slightly better idea of how I made this, here's a picture of the underside, where you can see how the sheets of foam were pieced and glued together:
For added security, I used discreet stitches to stitch all the layers of foam and sheeting together and glued pieces of sheeting to the underside of the armor where the seams join. (I later painted the underside with black acrylic paint so it wouldn't stand out so much when the armor was being worn.)
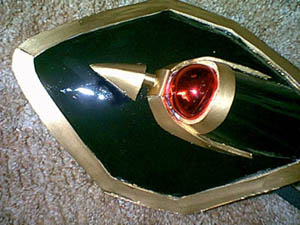
Here's a view from above. As you can see, virtually ANY shape can be created using a combination of craft foam and plastic sheeting. As long as it isn't spherical. (That's what God created cheap plastic Christmas ornaments for.)
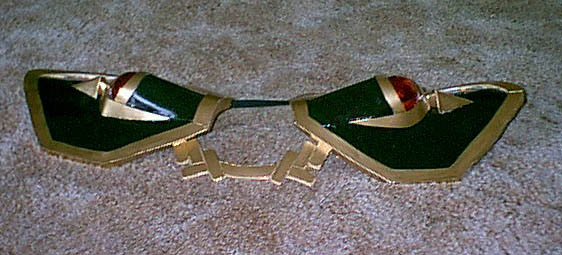
Oh, how did I connect the two sections of armor together, you ask? I did it by creating a connector piece between the two of them using craft foam and plastic sheeting. I then glued a brooch clasp to the underside of the connector piece. This clasp will be pinned to the costume undernearth, making the armor stay in place in front.
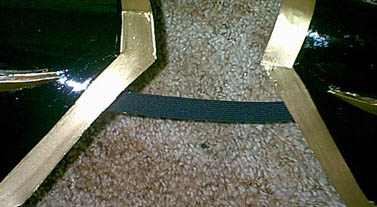
As for the BACK of the armor, I simply sewed/glued a strap of black elastic, which will make placing the armor over one's head and adjusting it a simple task. (The strap will also remain unseen as it will be under the long red hair/wig of whichever person is wearing the Lina costume.)
And there you go. Total time for working out the pattern and creating this project: about 10 hours.
Project 3: DBZ - Saiyan Battle Armor
Here are the steps I took to create my first stab at shoulder armor using sky.pro and my foam and plastic method. The subject: Lina Inverse from Slayers.

Here's what the armor looks like after both pauldrons have been completed and painted:
Now onto my next exciting project:
SUPPORT THIS PAGE!
All anime characters featured are copyright their respective owners.
All costumes created by and all pictures property of Amethyst Angel c. 2005
