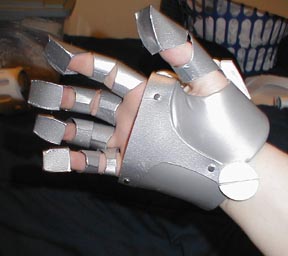
After gluing decorative studs (mostly metal denim studs and a couple of plastic buttons which would look like metal studs once I painted them,) to the top of the handplate, I set about attaching the fingers. This I did by hotgluing their long, dangly strips of black elastic to the interior of the handplate, directly under the notches. I then glued large plastic buttons to the sides of the notches, over the junction where the finger armor was attached to the handplate. (These https://sky.pro/media/moshenniki-rabotodateli/ would serve as the knuckle rivets.)
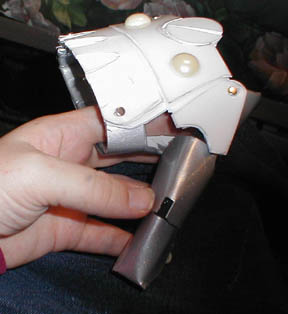
I glued some more studs to the palm piece, and then placed my hand into the entire assembly to make sure it fit. When this armor is finally worn for show, a long black glove will be worn under everything, so steps must be taken to ensure that the finger and hand plates are large enough to accomodate this.
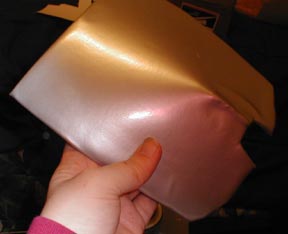
Next step: Creating the forearm piece. For the underside of the forearm, I opted for the vinyl over foam method; the same method I used to make the palm. I began by cutting out a piece of foam and gluing it to the wrong side of the vinyl.
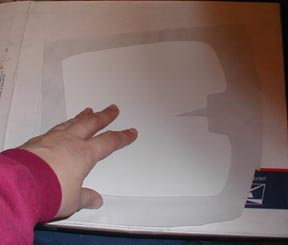

After the vinyl edges were tabbed and glued onto the foam, I hotglued the edges of the dart together, creating a half-cylinder.
The next step was to create the arm grill, which I made out of 3mm craft foam covered with styrene sheeting.
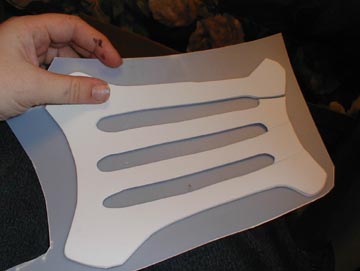
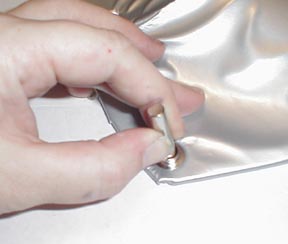
To create the surface underneath the open slotted areas and to make the arm grill curve in a cylindrical fashion, I hotglued a piece of styrene onto the underside of the foam, holding the grill to my arm as it cooled. (Carefully, making sure the glue didn't get onto my skin.)
So what I had was a curved layer of foam, sandwiched in between two layers of plastic. The under layer of plastic needed only to be large enough to cover the open areas where the slots appeared in the arm grill.
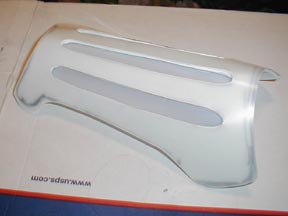
You can see in the picture below the surface area that the lower layer of plastic covers. The next step in this project was to attach snaps to the upper and lower sections of the forearm piece. The top half of the snaps were embedded into the arm grill...
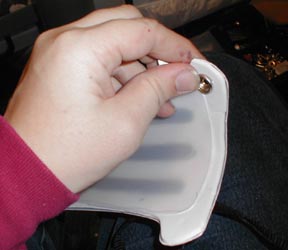
...and the lower half of the snaps were embedded into the lower, vinyl section of the forearm piece.
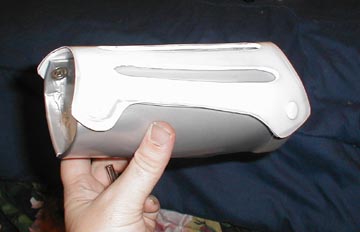
The two pieces, when stuck together via the snaps, looked like this:
Next step: the upper arm...
You can link to this site using the following banner:
And, of course, I could always use a little help in keeping this page running, seeing as how it's the primary sucker-upper of my monthly bandwidth...
Feel free to visit my Online Prop and Armor Portfolio to view more examples of my work.
All anime characters featured are copyright their respective owners.
All costumes created by and all pictures property of Amethyst Angel c. 2005
dietzt@cloudnet.com