

Project 7 - Fuuma Shuriken from Naruto
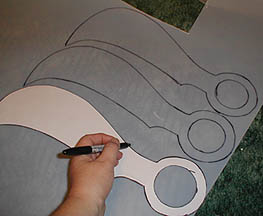
The blades would all have rings at the bottom of them which would swing around a center rivet and the rivet would need to be big enough to be grasped by an average-sized hand. After designing and cutting out my template, I used it to cut 8 blade-shapes out of some .030 thick styrene sheeting.
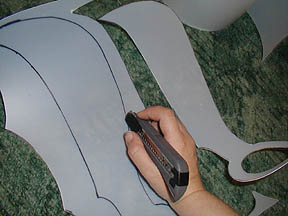
I used a craft knife to cut the shapes, making sure I was exact as possible. There would be very little room for error on a prop like this, where parts of it were expected to move.
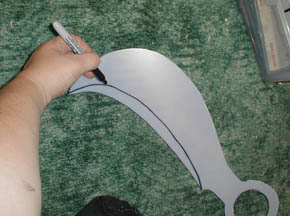
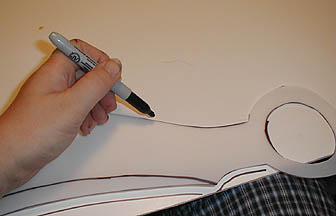
I took four of the shapes, faced them in the same direction, and traced out the path on the curve where the silver edge of the blade would appear. I then took the remaining 4 shapes, faced them the other way, and drew another blade-edge curve.
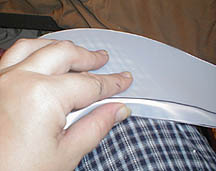
I then bent the plastic, making a crease downwards along the lines on all 8 of the blades (front and back), so it would look like the slanted slope of a sharpened blade.
Next step was to place the plastic shape onto some foamboard, trace around it and cut it out. The foamboard (or foamcore, as I tend to call it) is a rigid type of lightweight board - essentially, a layer of styrofoam glued in between two layers of posterboard. This will provide the blade with its thickness and stability. When you cut the foamboard, make sure you use a craft or X-acto knife. Foamboard is very difficult to cut with a scissors (and a scissors will tend to crimp the foamboard, distorting it as it cuts.)
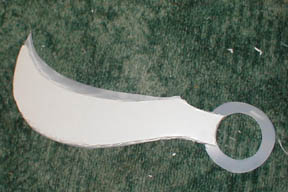
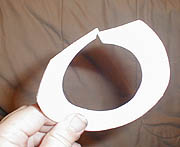
Glue the foamcore to one of the plastic blades. IMPORTANT. The following areas of the blade should NOT have foamboard glued to them. The part of the blade where the plastic is bent, and the lower area of the ring. (In other words, whatever you end up with when all is said and done should look something like this:)
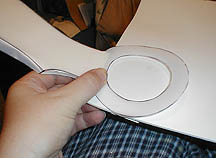
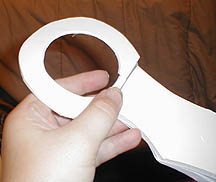
Take the blade and place a piece of 3mm craft foam sheeting under the area of the ring where there is no foamcore. Trace out the area of the ring.)
Cut the ring out of the foam. You should end up with a shape that looks like this:
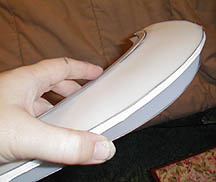
Hotglue the foam ring to the plastic. The craft foam sheeting will be thinner than the foamcore, but that's okay. The ultimate purpose of the craft foam is to help the blade move around the center rivet without slipping. (Meaning, you'll be able to extend the blades of the shuriken into a "+" position and they'll stay that way without falling.)
You should have a blade-shaped piece of foamcore with plastic covering it on its front. What you should do now is take one of the BACK pieces (where the blade is bent the other way) and hotglue it to the front piece so you have a piece of foamcore which has plastic covering it on BOTH sides.
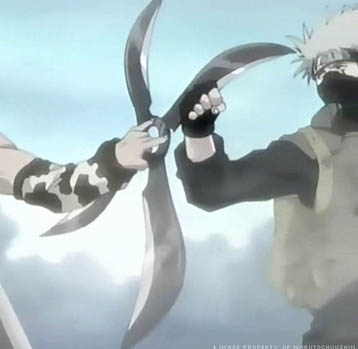
A friend o' mine was planning a Kakashi cosplay, and I thought I'd try my hand at making him a few props, among them, the Fuuma Shuriken (aka the Windmill Shuriken.)
I took my design for the shuriken from various Naruto screencaps. (and from a great image reference source for Naruto weapons which I found on this site.) The first step in making the shuriken was to create a paper pattern which would serve as a template for all of the blades.

SUPPORT THIS PAGE!
All anime characters featured are copyright their respective owners.
All costumes created by and all pictures property of Amethyst Angel c. 2005
